Fleet File Vol 9 Review and Command and order system
Fleet File Vol 9 review
This volume is mainly focused on the Black Lancers imperial fleet with 8 out of the 10 ships from that fleet.
Königs Tiger (Goldenbaum and Goldenlöwe versions): The flagship of the Black lancers has a similar appearance to the imperial fast battleship design but is larger in size.

Imperial cruiser (788 UC era) (Goldenbaum and Goldenlöwe versions) : black lancer version of the imperial cruiser. Unfortunately the white panel lining makes more visible smudges than the black one so overall the model looks just a bit messier compared to the standard imperial cruiser.


From Gineipedia:
Rear Admiral Reinhard von Müsel's squadron arrived at Iserlohn as part of the additional units deployed there in order to counter the expected Alliance attack. Reinhard, like Yang, also criticized the fixation of both sides on Iserlohn Fortress. During November, he subsequently took part in multiple skirmishes throughout the Corridor against Alliance vanguard units probing Imperial defenses, and managed to give them considerable losses through his tactics. Reinhard used the opportunity as a way to test different battlefield tactics against small units of enemy ships. Most notably, he destroyed a force under Rear Admiral Ramsay Wartz, whose chief of staff was a former classmate of Yang's at the Alliance Command Academy and considered a genius, Captain Malcolm Wideborn. Wideborn advised his commander to fan out his ships in order to envelop Reinhard's squadron, only for Reinhard to then charge at the weakened center with full force and destroy Wartz's flagship. Both Wartz and Wideborn were killed. Later on, while trying a manuever to attack the enemy from the rear, Reinhard was nearly surrounded by Alliance ships following Captain Yang's advice, and only managed to escape with significant losses by breaking out at the weakest point of the encirclement.
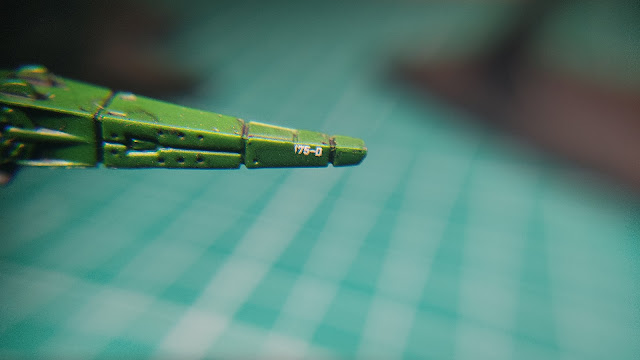
The Shamash was Admiral's Ramsay's ship during this battle.

Leda II : the infamous battleship in which Yang died. As i mentioned before for some of the alliance ships, due to its small size compared to the standard base size it looks a bit weird. The detail on the ship is very good though especially the very small decal on the nose of the cruiser.

Command and order system
This is another core system in the game due to the huge importance the characters have in how battles shape out in the LOGH series. The story very much partakes of the idea of "great men" that shape history as opposed to the socioeconomic impulses and currents that influence historical events.
To simulate this, each fleet and/or subsection will have an assigned leader. One of them will be the commander in chief that orders the other subdivisions. During each turn the player will issue commands to each leader and then roll to see if they're executed correctly or not.
A higher command rating means that the leader is more likely to execute the command as issued. Failing the check simulates a variety of situations: incompetence of the leader, insubordinations or bad communication. A loyal commander can be unskilled and not correctly follow orders as the admiral intended them, also a subordinate might think that he knows better and executiong a different plan will bring him more individual glory.
The leader will then have a modifier explaining how to change the command upon a failed check. This modifier can take the form of a single number or a d6 roll.
Another case to consider here is that a commander might have a very high rating and also high modifier showing that he is very good at execution orders but if he (rarely) think that he knows better he will execute a wildly different manouvre. On the opposite end of the spectrum is an unskilled commander with low command rating but a very low modifier since he's trying to follow the command but due to incompetence it's not exactly correct.
An idea for the command list would be something like this:

The orders are ranked by most aggressive (top) and least (bottom), this allows command modifiers to actually express leader tendencies for more cautious or daring personality traits.
Alternatively instead of "all units'" having N units as the basic amount of activatable ship might be preferrable. Using this alternative then maybe upon a failed command check you can still execute the original order but with half the amount of units.
Lastly leaders can only activate units within their command radius (something like 16cm), units outside have to succeed on a morale roll to be activated. This simulates isolated ships with low morale being harder to give orders to compared to an ordered formation near the leader.
The below flowchart summarizes the main steps in issuing commands, hopefullt this gives some LOGH flavor to the system.


Comments
Post a Comment